How to Use Blueprint Interfaces in UE5: The Perfect Interaction System
Building an interaction system in UE5 usually starts the same way for most beginners. The player walks up to a door, casts to the Door Blueprint, calls Open. Then they need to interact with a chest, so they cast to the Chest Blueprint and call OpenChest. Then a lever, then an NPC, then a pickup item. After a dozen interactable objects your interaction Blueprint is a long chain of cast nodes checking one type after another, and adding a new interactable type means going back into that same chain and adding yet another cast.
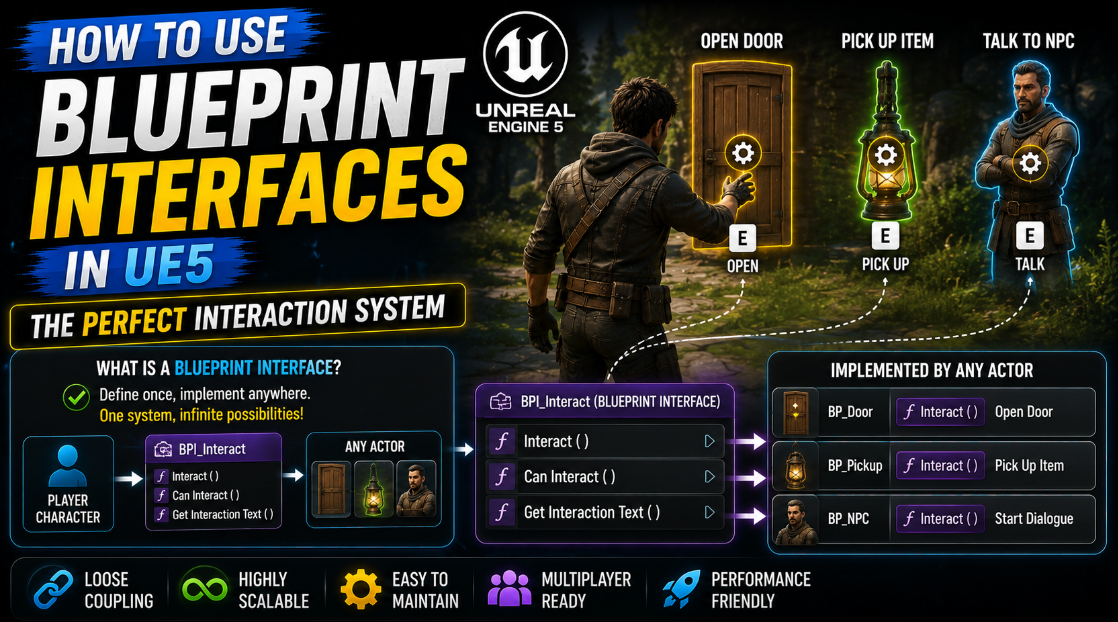
Blueprint Interfaces solve this completely. An Interface lets you call the same function name on completely different actor types without ever needing to know or care what specific Blueprint class you are dealing with. The door, the chest, the lever and the NPC can all respond to the exact same Interact call, each doing something different internally, without your interaction system needing a single cast node anywhere. In this article I will show you how to build a complete interaction system using Interfaces from the ground up.
What a Blueprint Interface Actually Is
Before building anything it helps to understand exactly what an Interface does differently compared to a normal cast based approach.
A cast node asks a very specific question. Is this actor exactly a Door Blueprint, or a class that inherits from it. If the answer is no the cast fails and nothing happens. This means your interaction logic needs to know in advance every single specific class it might encounter and have a separate cast and call for each one.
An Interface instead asks a completely different question. Does this actor implement this particular function, regardless of what specific class it is. A Door, a Chest and an NPC can all be completely unrelated classes with no shared parent beyond Actor itself, and as long as they all implement the same Interface function your interaction system can call that function on any of them identically. The interaction system does not need to know or care what it is interacting with at all.
This is exactly the kind of flexible design that lets you add new interactable types to your game indefinitely without ever touching your core interaction logic again.
Step 1: Create the Interface
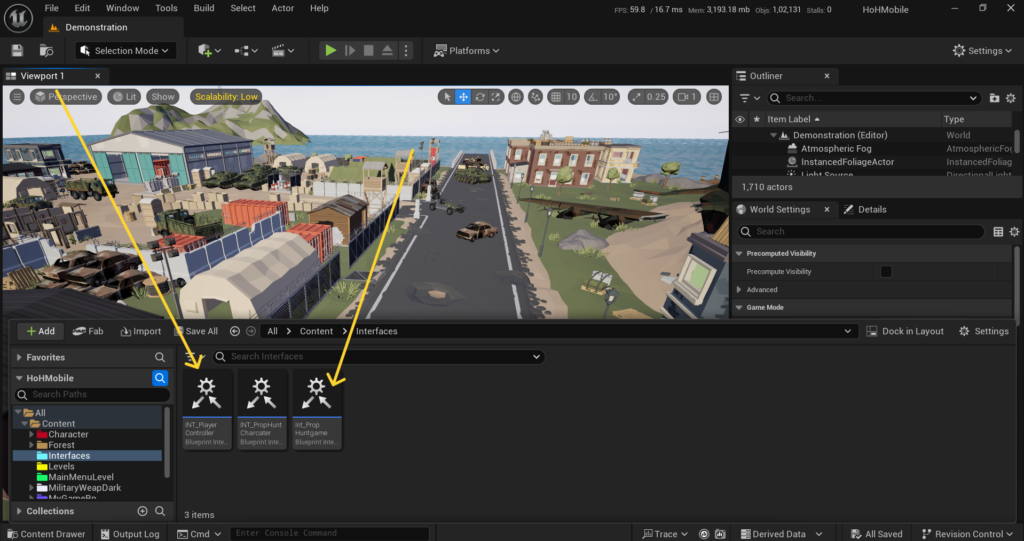
Go to your Content Drawer, right click and go to Blueprints > Blueprint Interface. Name it BPI_Interactable.
Open it and you will notice this looks different from a regular Blueprint. There is no Event Graph to add logic to directly. An Interface only defines function signatures, meaning the function’s name and its inputs and outputs, without containing any actual logic itself. The logic gets added later inside each individual Blueprint that implements this Interface.
Click Add Function and name it Interact. You do not need to add any inputs for a basic interact call, though you can add an input later such as the interacting actor itself if your interaction logic needs to know who triggered it.
Add a second function called GetInteractionText. Give this one an Output of type Text, since this function’s purpose is to return a string like “Open Door” or “Pick Up Item” that you can display on screen as a prompt before the player actually interacts. Save the Interface once both functions are added.
Step 2: Implement the Interface on Your Door Blueprint
Open your Door Blueprint, or create one if you do not have one yet. Go to Class Settings and find the Interfaces section. Click Add and select BPI_Interactable from the list.
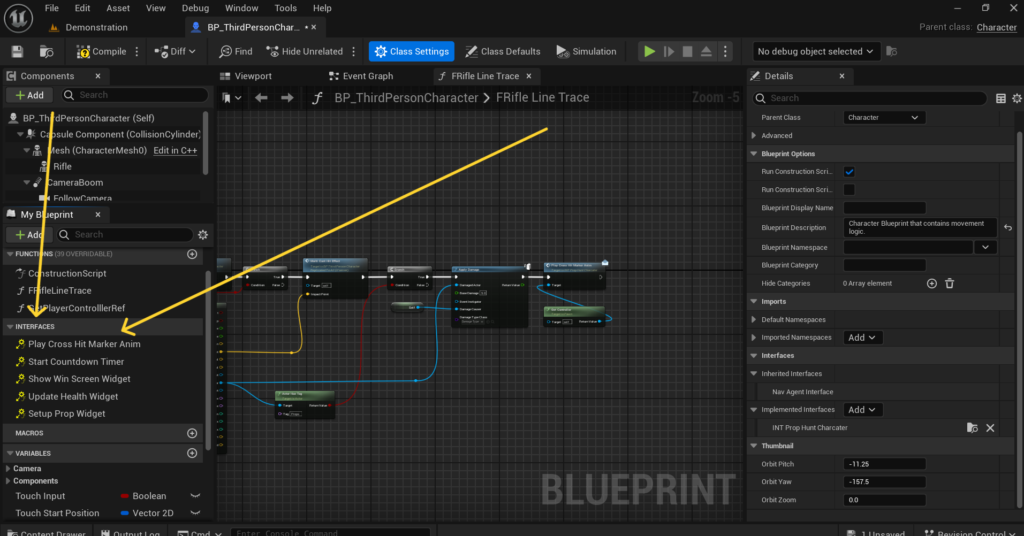
After adding the Interface go to your Event Graph. In the My Blueprint panel under Interfaces you will now see the two functions you defined, Interact and GetInteractionText. Right click on Interact and select Implement Event. This adds the event to your graph where you can now add actual logic specific to this Door.
Inside this Interact event add whatever logic should happen when the player interacts with this specific door. Toggle a Boolean called IsOpen, play an opening animation through a Timeline or Anim Montage, and play a door creak sound effect.
Do the same for GetInteractionText. Implement this event and simply return the Text value “Open Door” if the door is currently closed, or “Close Door” if it is currently open, using a Branch on your IsOpen variable.
Step 3: Implement the Interface on a Completely Different Actor
Now create a Chest Blueprint, or use an existing one. Add the same BPI_Interactable Interface to it through Class Settings exactly as you did for the Door.
Implement Interact on the Chest with entirely different logic. Open the chest’s lid through animation, spawn loot items at the chest’s location, and set a HasBeenOpened Boolean so the chest cannot be opened again.
Implement GetInteractionText on the Chest to return “Open Chest” if it has not been opened yet, or simply return an empty Text value if it has already been looted, which your interaction system can later check to decide whether to show any prompt at all.
Notice that the Door Blueprint and the Chest Blueprint share absolutely nothing in terms of class inheritance.
They can be built on entirely separate parent classes with completely different variables and completely different visual meshes. The only thing connecting them is that they both implement the same Interface, and that single shared connection is all your interaction system will ever need.
Step 4: Build the Interaction Detection on the Player
Open your Player Character Blueprint or Player Controller, wherever you handle player input and detection logic.
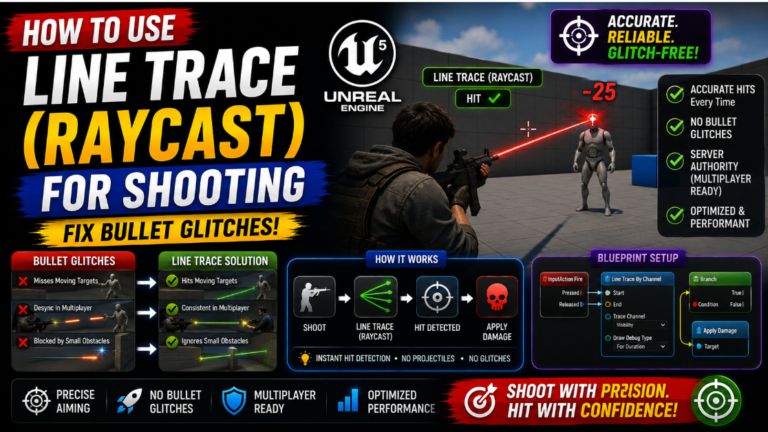
The most common approach for detecting nearby interactable objects is a Line Trace from the camera forward, similar to the shooting system covered in a previous article, except this time you are checking for interactable objects within a short range rather than dealing damage at long range.
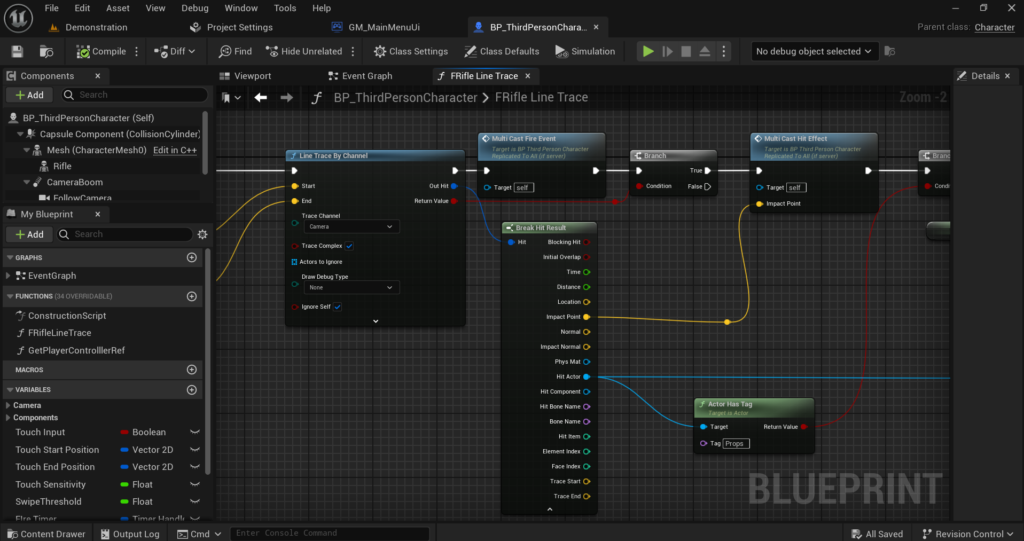
Add a Line Trace By Channel node. Set the Start to the camera’s location and the End to the camera’s location plus the camera’s forward vector multiplied by a short interaction distance, something like 200 to 300 units, since interaction generally needs to happen at close range rather than across the whole level.
This trace should run on a regular interval rather than every Tick, similar to the Timer based approach covered in the stamina article, since checking for nearby interactables does not need frame perfect precision. Use a Timer with an interval around 0.1 to 0.2 seconds to keep this check running smoothly without unnecessary per frame cost.
Step 5: Check if the Hit Actor Implements the Interface
From your Line Trace’s Out Hit, break the Hit Result and get the Hit Actor.
Here is where the actual Interface check happens. Use a node called Does Implement Interface, passing in the Hit Actor and selecting BPI_Interactable as the Interface to check against. This returns a simple Boolean telling you whether this specific actor, whatever class it happens to be, implements the Interface at all.
Connect this into a Branch node. If True this actor can be interacted with, regardless of whether it is a Door, a Chest or anything else you build later that also implements this same Interface. If False this is just regular world geometry or some other actor with no interaction logic at all, and you can simply hide any interaction prompt and do nothing further.
Step 6: Call the Interface Functions
If the Branch confirmed the Hit Actor implements the Interface, you can now safely call the Interface functions on it directly.
Drag out from your Hit Actor reference and search for GetInteractionText. You will notice this function appears in the search results exactly as if it were a normal function call, even though you have no idea what specific class this actor actually is. Call it and use the returned Text to update your on screen interaction prompt UI, something like a small text widget showing “Press E to Open Door” or whatever the specific actor’s implementation chose to return.
When the player actually presses your interact input button, call Interact on the same Hit Actor reference in exactly the same way. The Door will run its own door opening logic, the Chest will run its own chest opening logic, and your interaction system has not changed a single line to support either one specifically.
Step 7: Add a New Interactable Type Without Touching Existing Logic
This is where the real benefit of the Interface approach becomes obvious. Suppose later in development you want to add an NPC that the player can talk to.
Create your NPC Blueprint completely independently, with whatever dialogue logic and animations it needs. Add BPI_Interactable to its Interfaces list through Class Settings exactly as before. Implement Interact on the NPC to open a dialogue widget instead of opening a door or a chest. Implement GetInteractionText to return “Talk to [NPC Name]”.
Go back to your player’s interaction detection logic from Steps 4 through 6. You will find there is nothing to change at all. The exact same Line Trace, the exact same Does Implement Interface check and the exact same Interact and GetInteractionText calls will work correctly on this brand new NPC the moment it implements the Interface, without a single modification to your existing interaction system.
This is the core advantage that makes Interfaces worth learning over the cast based approach. Your interaction system’s complexity stays completely flat no matter how many different interactable types you eventually add to your game.
Step 8: Handle Interfaces That Need Input Parameters
Some interactions need more information passed into them than a simple call with no parameters. For example you might want your Interact function to know exactly which actor triggered the interaction, useful if an NPC’s dialogue needs to reference the player by name or a pressure plate needs to know which specific actor stepped on it. Go back to your BPI_Interactable Interface and edit the Interact function. Add an input parameter called Interactor of type Actor Object Reference.
Now every Blueprint that implements this Interface will see this new input appear on their Interact event node automatically. Go back to each of your existing implementations, the Door, the Chest and the NPC, and you will notice the Interact event now has this additional pin available to use if needed, even though you do not have to actually use it in implementations where it is not relevant.
When calling Interact from your player’s interaction logic, pass in a reference to the player character itself as the Interactor input. The NPC’s dialogue Interact logic can now use this reference to know exactly who initiated the conversation, while the Door’s Interact logic can simply ignore this input entirely since a door does not need to know who is opening it.
Step 9: Use Interfaces for Communication Beyond Just Interaction
While this article focuses specifically on building an interaction system, it is worth understanding that Interfaces are useful for any situation where multiple unrelated Blueprint classes need to respond to the same kind of call.
A common second use case is having enemies and the player both implement a shared BPI_Damageable Interface with a TakeDamage function defined on it, similar to the Health Component system covered in an earlier article but using an Interface based approach instead.
This lets your Line Trace shooting system call TakeDamage on absolutely anything it hits without needing to check whether it hit a specific enemy class, a destructible prop, or the player themselves, as long as all of them implement the same Interface.
Another common use case is a shared BPI_Saveable Interface where any actor in your level that needs to persist data through your SaveGame system implements a SaveData and LoadData function, letting your save system loop through every actor in the level and call these functions generically without needing to know the specific type of each one.
Step 10: Test the System With Multiple Interactable Types
Before considering your interaction system finished, place several different interactable types in your level simultaneously and test moving between them.
Walk up to a Door and confirm the correct interaction prompt appears and that interacting opens it correctly. Walk away and approach a Chest instead and confirm the prompt text changes appropriately and that the chest’s specific loot spawning logic runs correctly when interacted with. Approach an NPC and confirm dialogue opens rather than anything related to doors or chests triggering accidentally.
Test what happens when your Line Trace is pointed at something that does not implement the Interface at all, like a plain wall or piece of terrain, and confirm your interaction prompt correctly disappears rather than showing stale text from the last interactable object you were looking at.
Final Thoughts
Blueprint Interfaces solve a problem that becomes increasingly painful the longer you avoid dealing with it. A cast based interaction system might feel manageable with three or four interactable types early in development, but every game that grows in scope eventually accumulates dozens of different things a player can interact with, and an Interface based approach is what keeps that growth from turning your interaction logic into an unmanageable chain of cast nodes.
The pattern you learn here extends well beyond interaction specifically. Any time you find yourself writing a long chain of cast nodes checking for one specific class after another, it is usually a strong signal that a shared Interface would let completely unrelated Blueprint classes respond to the same call without your calling code needing to know anything about their specific type at all.
If your Interface functions are not appearing on an actor or your Does Implement Interface check is always returning false even though you added the Interface correctly, reach out at Admin@KaliPress.fun and I will help you figure out exactly what is misconfigured.

Solo Indie Game Developer and Unreal Engine (UE4 & UE5) Specialist with over 5 years of experience building optimized Android games from scratch.
I specialize in handling the full development pipeline independently taking mobile titles from concept to high-performance, publishing ready APK/AAB builds. Highly focused on rendering optimization for low-to-mid range devices, Blueprint scripting, and custom mechanics.
Through this blog, I share my practical knowledge and tutorials to help aspiring developers master the Unreal Engine mobile ecosystem.