
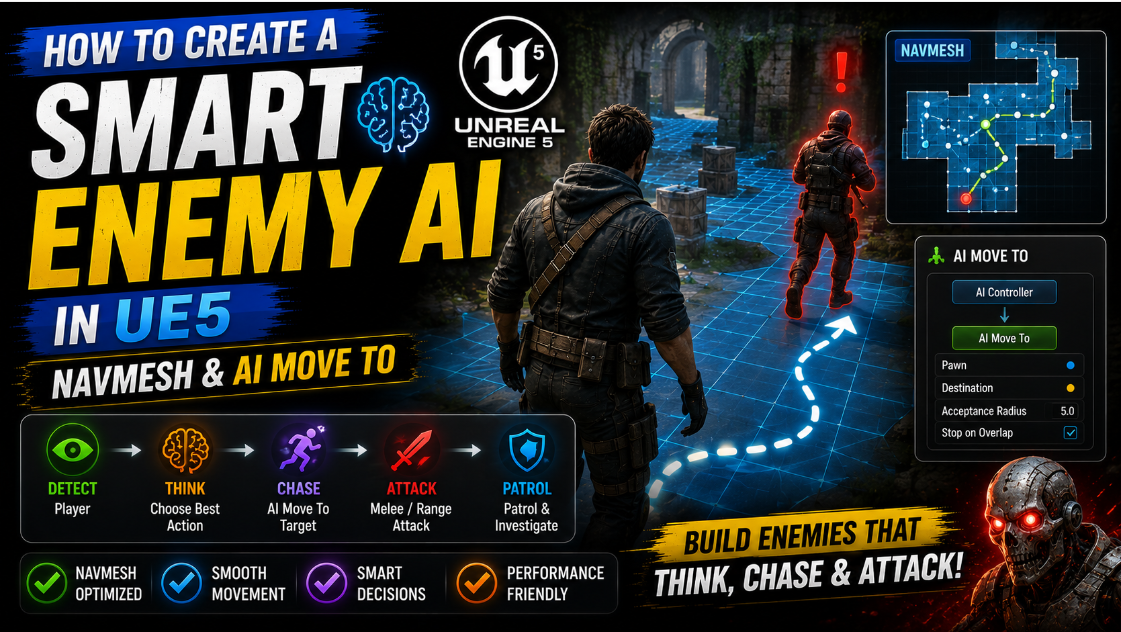
How to Create a Smart Enemy AI in UE5: NavMesh & AI Move To
Enemies that just stand in place waiting for the player to walk up and hit them make a game feel empty fast. Real enemy AI needs to actually move through the level, chase the player around obstacles and react to what is happening around it. The two building blocks that make this possible in UE5 are the NavMesh, which defines where an AI is actually allowed to walk, and AI Move To, the node that tells an AI controller to travel somewhere using that NavMesh.
Most tutorials show you how to make an enemy walk in a straight line toward the player, which works fine until the player ducks behind a wall and the enemy just gets stuck pushing against it forever. In this article I will show you how to build a proper enemy AI system that navigates your level intelligently, avoids obstacles automatically and actually chases the player the way a real enemy should.
Understanding NavMesh Before You Build Anything
Before writing any Blueprint logic you need a NavMesh in your level, since none of the AI movement nodes will work without one.
A Nav Mesh Bounds Volume defines the area of your level where UE5 will generate walkable surfaces for AI to use. Go to the Place Actors panel, search for Nav Mesh Bounds Volume and drag it into your level. Scale it using the transform tool so it covers your entire playable area, including any upper floors, ramps or areas you want enemies to be able to reach.
Once placed, press P on your keyboard while in the viewport. This toggles the NavMesh visualization on and off. You should see a green overlay appear across your floors and walkable surfaces. This green area is exactly where an AI controlled character is allowed to path to. Anywhere that stays gray, meaning no green overlay appears, is an area your AI simply cannot navigate to no matter what logic you build later.
If your green NavMesh does not cover an area you expect it to, check that your Nav Mesh Bounds Volume actually extends over that area, and check that the floor geometry there has collision enabled, since UE5 needs actual collision geometry to know what counts as a walkable surface.
Step 1: Set Up Your AI Controller
Go to your Content Drawer, right click and go to Blueprints > Blueprint Class. Under AI Controller select it and name it AIC_Enemy.
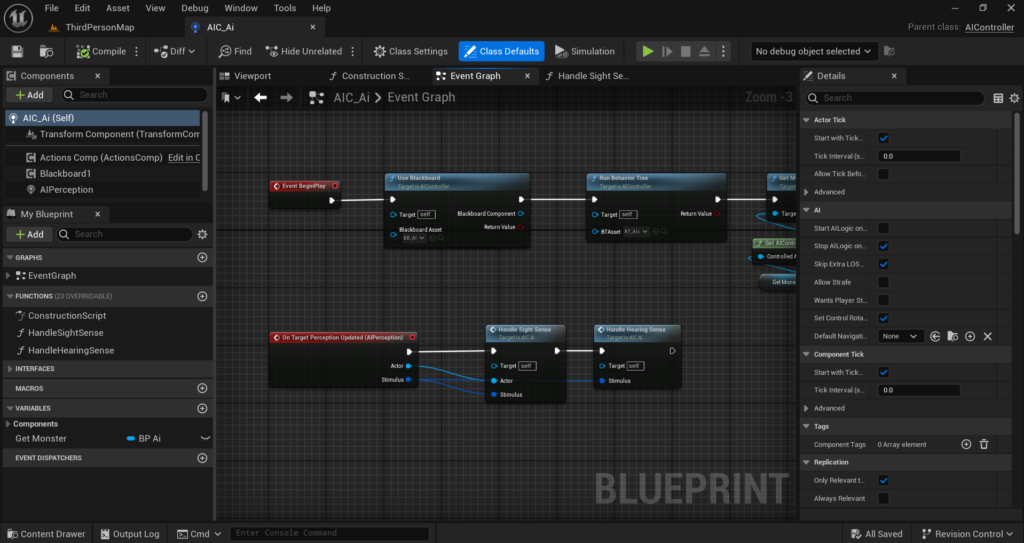
Open your Enemy Character Blueprint and go to Class Defaults. Find AI Controller Class and set it to your newly created AIC_Enemy. This tells UE5 to automatically possess this character with your custom AI Controller whenever it is spawned into the level, rather than requiring a player to control it.
Also in Class Defaults check Auto Possess AI and set it to Placed in World or Spawned, which ensures the AI Controller takes over immediately whether you place the enemy manually in the level or spawn it dynamically during gameplay.
Step 2: Detect the Player Within Range
Before an enemy can chase the player it needs some way of actually detecting them. The simplest reliable approach is a Sphere Collision Component attached to your enemy that acts as a detection radius.
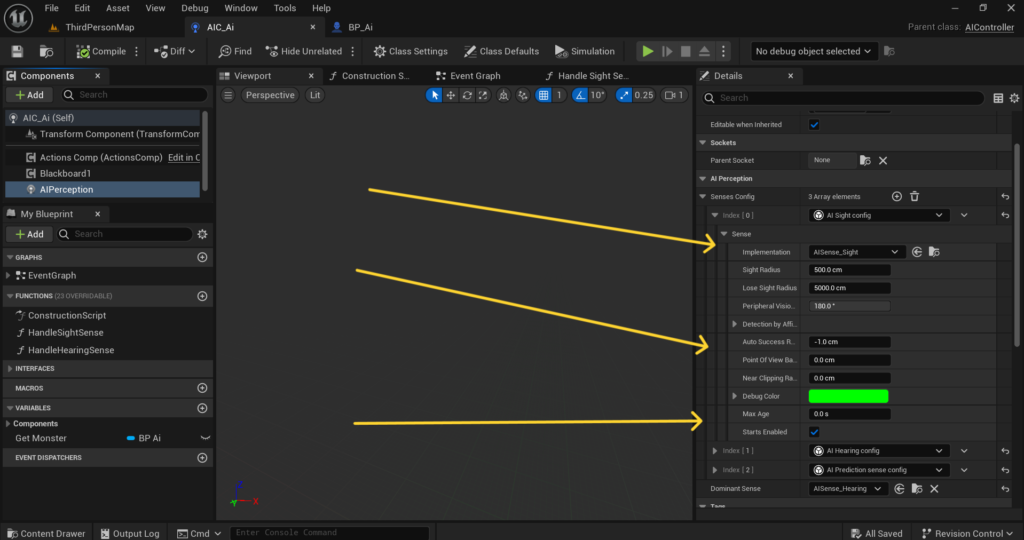
In your Enemy Character Blueprint add a Sphere Collision component and set its radius to however far you want the enemy to be able to notice the player, something like 800 to 1000 units for a reasonable detection range. Set its Collision Preset to OverlapOnlyPawn so it only reacts to pawns entering it rather than every physics object in the level.
On this Sphere Collision’s On Component Begin Overlap event, check if the overlapping actor is the player using a Cast to your Player Character class. If successful, store a reference to the player in a variable called TargetPlayer and set a Boolean called CanSeePlayer to True.
On On Component End Overlap, when the player leaves this detection radius, set CanSeePlayer back to False. This gives you a simple foundation for knowing whether the enemy should currently be chasing anyone at all.
Step 3: Build the Chase Logic With AI Move To
Inside your AIC_Enemy Blueprint, create a custom event called ChasePlayer.
Add a node called AI Move To. This is the core node that handles all the pathfinding for you. Set the Pawn input to Get Controlled Pawn, since this tells the node which character it is actually moving. Set the Goal Actor input to your TargetPlayer reference, meaning it will path toward wherever the player currently is, rather than a single fixed point that goes stale the moment the player moves.
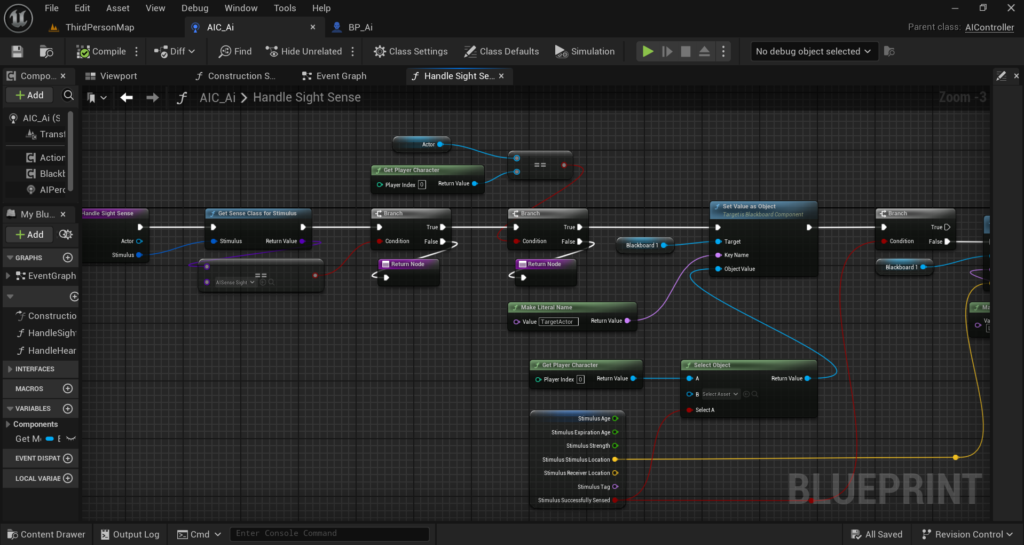
AI Move To automatically uses the NavMesh you set up earlier to calculate a path around any obstacles between the enemy and the target. If there is a wall in the way, the AI will path around it rather than walking directly into it and getting stuck, which is the entire benefit of using this system instead of manually moving the enemy in a straight line toward the player’s location.
Set the Acceptable Radius input to something like 100 to 150 units. This defines how close the enemy needs to get before AI Move To considers the movement complete, which matters because you generally do not want the enemy to try walking to the exact same coordinate as the player, since that would mean walking directly into them rather than stopping at melee range.
Step 4: Trigger the Chase Repeatedly
AI Move To calculates a path once towards wherever the target currently is at the moment it is called. Since the player is constantly moving you need to call this repeatedly so the AI keeps updating its path toward the player’s current position rather than an old one.
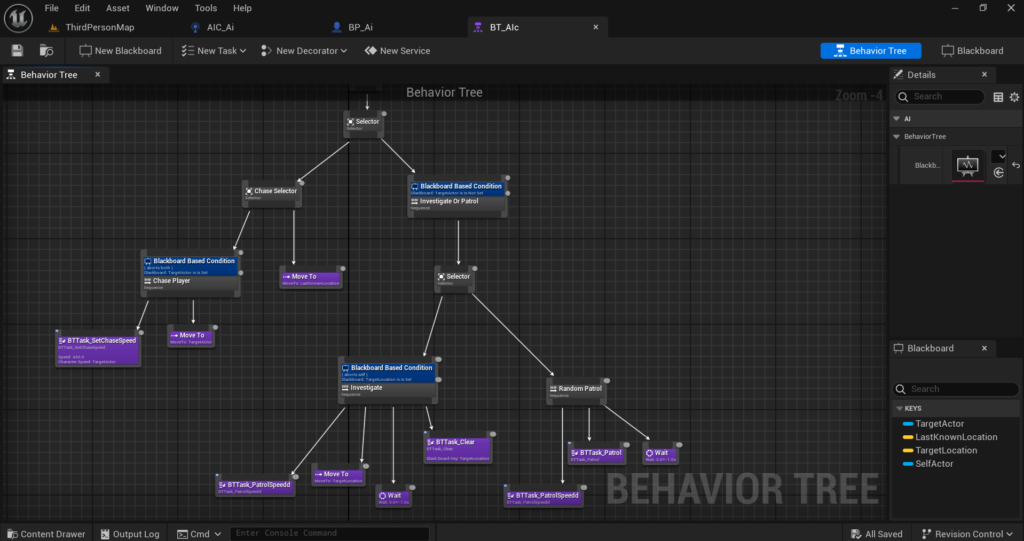
Use a Timer set to loop at an interval around 0.3 to 0.5 seconds, calling ChasePlayer repeatedly for as long as CanSeePlayer remains True. This interval does not need to be extremely fast since AI Move To itself handles the actual movement smoothly between path recalculations. Recalculating too frequently wastes performance without meaningfully improving how the chase feels, while an interval that is too long will make the enemy noticeably lag behind a player who changes direction often.
Start this Timer from your On Component Begin Overlap event back in the Character Blueprint, right after setting CanSeePlayer to True. Stop the Timer using Clear and Invalidate Timer by Handle in On Component End Overlap, right after setting CanSeePlayer back to False, so the enemy stops recalculating a chase path the moment the player is no longer in range.
Step 5: Handle What Happens When the Path Completes
AI Move To has an output called Move Completed that fires once the AI actually reaches its Acceptable Radius around the target. Connect logic here to trigger whatever should happen once the enemy has successfully closed the distance to the player, such as starting an attack animation or dealing melee damage if you built a Health Component system as covered in an earlier article.
AI Move To also returns a Move Result telling you whether the movement succeeded, failed, or was aborted partway through. Checking this matters because sometimes a path can fail entirely, for example if the player moves to an area that is completely unreachable from the enemy’s current position due to a gap in your NavMesh coverage. Handling a failed result gracefully, such as having the enemy simply stop and idle rather than getting stuck endlessly retrying an impossible path, prevents a frustrating stuck enemy bug.
Step 6: Add Patrol Behavior for When the Player Is Not Detected
An enemy that stands completely still until the player wanders into its detection radius feels lifeless. Adding basic patrol behavior for when CanSeePlayer is False makes the world feel much more alive.
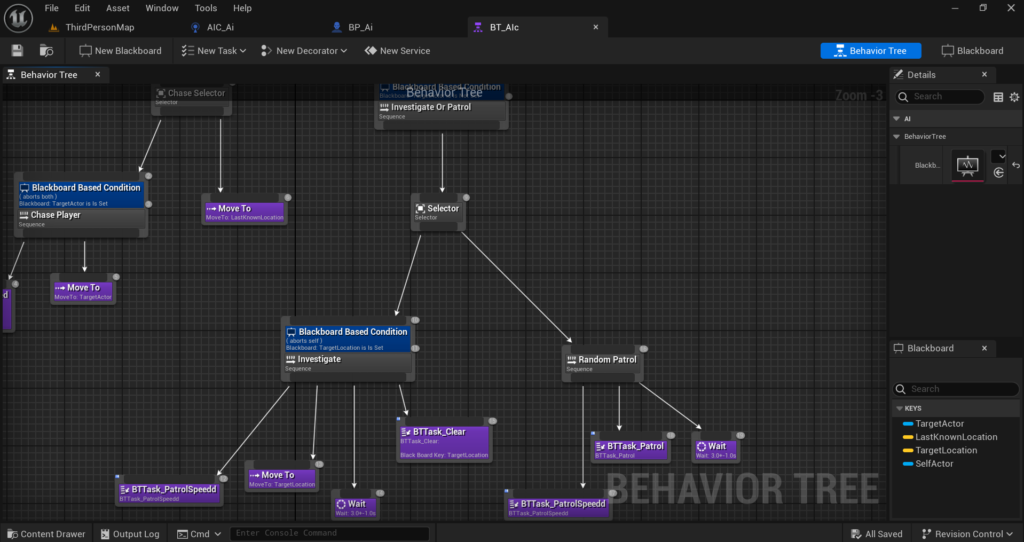
Place several Target Point actors around your level at the locations you want a specific enemy to patrol between. In your Enemy Character Blueprint add an array variable called PatrolPoints of type Actor, and manually assign the Target Points you placed for that specific enemy instance in the level.
Create a custom event in your AI Controller called PatrolToNextPoint. Use an Integer variable called CurrentPatrolIndex to track which point in the array the enemy is currently heading toward. Call AI Move To with the Goal Location set to the current patrol point’s location rather than a Goal Actor this time, since patrol points are static locations rather than a moving target like the player.
On this AI Move To’s Move Completed output, increment CurrentPatrolIndex by 1, wrapping back to 0 once it exceeds the length of your PatrolPoints array, and call PatrolToNextPoint again to continue the loop toward the next point.
Make sure your patrol logic only runs while CanSeePlayer is False, and that detecting the player interrupts the patrol Timer and switches over to the chase Timer instead, since you do not want an enemy continuing to calmly patrol while the player is standing right in front of it.
Step 7: Add a Losing Interest Delay
A common issue with a simple overlap based detection system is that the enemy immediately gives up chasing the instant the player steps even slightly outside the detection sphere, which can feel unnaturally responsive compared to how a real enemy would behave.
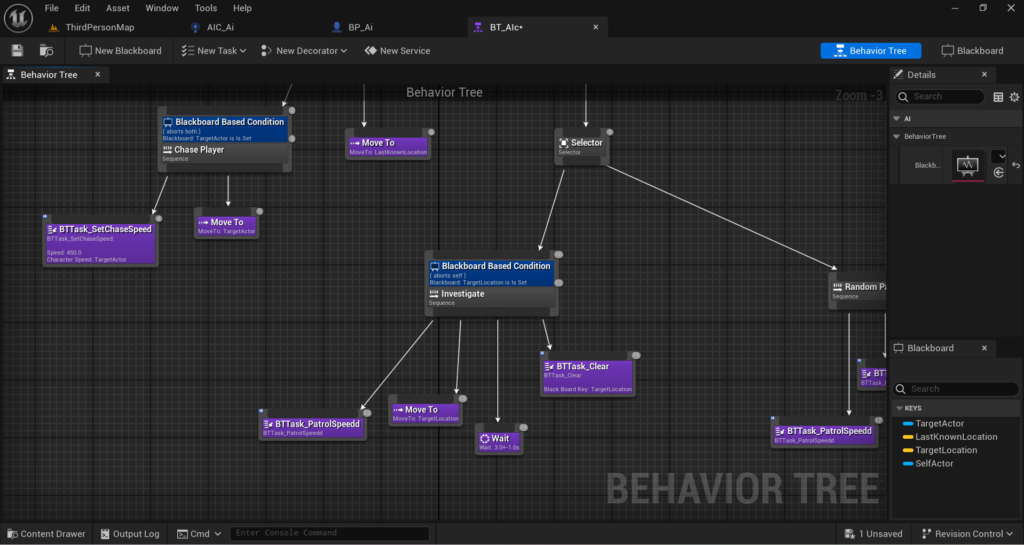
Instead of immediately setting CanSeePlayer to False the moment the player exits the Sphere Collision, add a Delay node of around 3 to 5 seconds before actually setting it to False and switching back to patrol behavior. This gives the enemy a believable window where it continues searching briefly even after losing direct detection, rather than instantly forgetting the player exists the second they step out of range.
Make sure that if the player re-enters the detection radius during this delay window, you cancel the pending delay so the enemy smoothly continues chasing rather than briefly reverting to patrol and then immediately switching back to chase again.
Step 8: Use Line of Sight Instead of Just Distance
A Sphere Collision based detection system has an obvious flaw. It detects the player based purely on distance, meaning an enemy on the other side of a thick wall can still detect a player standing close by on the opposite side, even though there is no actual way the enemy could see them.
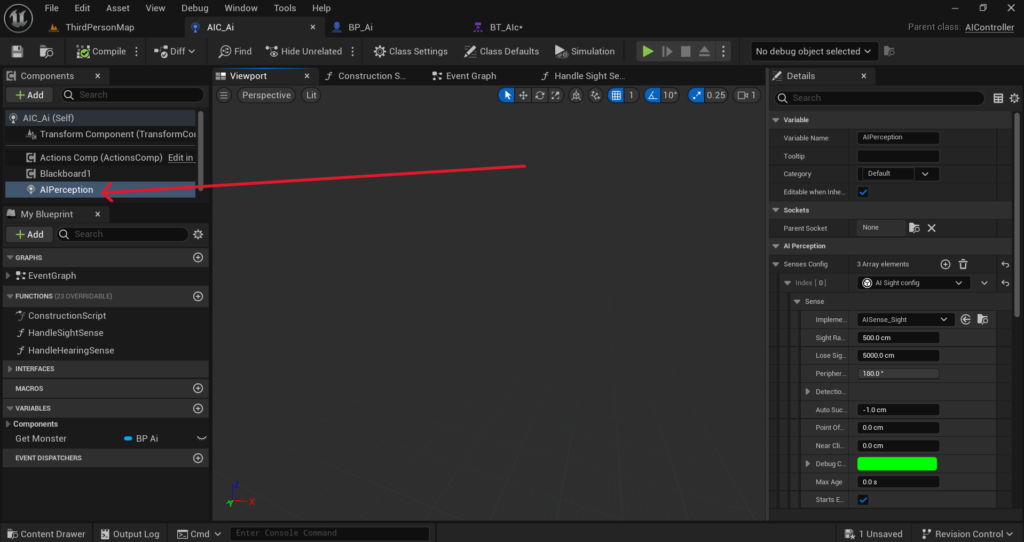
For a more believable detection system, once the Sphere Collision overlap fires, add a Line Trace By Channel from the enemy’s location to the player’s location before actually confirming detection. If this trace hits a wall or obstacle before reaching the player, meaning something is blocking the line of sight, treat this as the player not actually being visible yet, even though they are within the detection radius distance-wise.
This line of sight check should also run periodically while actively chasing, not just at the initial detection moment, since a player can duck behind cover mid-chase, and a believable enemy AI should account for genuinely losing sight of the player during pursuit rather than tracking them through walls the entire time.
Step 9: Optimize AI Performance for Mobile
Running detection checks, Line Traces and patrol Timers for every single enemy in your level adds up, and mobile hardware has much less headroom for this than a PC would.
Increase your Timer intervals for enemies that are far from the player and less likely to be immediately relevant, since an enemy on the opposite side of a large level does not need to recalculate its path or run line of sight checks as frequently as one currently engaged with the player.
A simple distance check against the player at a low frequency, something like once per second, can determine whether an enemy should even be running its more expensive detection and chase logic at all, effectively pausing far away enemies entirely until the player gets close enough for them to matter.
Limit how many enemies can be actively chasing and pathfinding simultaneously if your game has large groups of enemies, since NavMesh pathfinding calculations, while efficient, are not free, and having thirty enemies all recalculating paths every fraction of a second on a mobile device will show up as a real performance cost.
Step 10: Test Your AI Thoroughly
Before considering your enemy AI finished, test scenarios beyond simply walking up to an enemy in an open room.
Walk behind cover while an enemy is chasing and confirm it either loses sight and eventually gives up appropriately, or successfully paths around the obstacle if there is a walkable route around it. Test an enemy whose patrol points are positioned across a gap in your NavMesh coverage and confirm it does not get permanently stuck attempting an impossible path. Test multiple enemies detecting the player simultaneously and confirm none of them get stuck colliding with each other while all pathing toward the same target location.
Walk to the very edge of your Nav Mesh Bounds Volume and confirm enemies correctly refuse to path beyond it rather than walking off into an area with no collision or floor geometry, which can happen if your Bounds Volume does not fully cover an area you expected enemies to reach.
Final Thoughts
NavMesh and AI Move To together handle the hard part of enemy AI, which is the actual pathfinding math needed to navigate around obstacles intelligently, so you can focus your effort on the behavior logic that makes an enemy feel like a real threat rather than a scripted obstacle. Detection, patrol, losing interest and line of sight are the layers that turn a technically functional chase system into something that actually feels like it is reacting to the player.
Build this incrementally. Get basic chase working first with a full NavMesh covering your level, then add patrol behavior, then layer in line of sight and the losing interest delay once the core movement is solid. Trying to build all of these systems at once before confirming your NavMesh and basic AI Move To calls are even working correctly makes debugging significantly harder than it needs to be.
If your enemy is refusing to move at all or getting stuck partway through a chase, reach out at Admin@KaliPress.fun and I will help you figure out whether it is a NavMesh coverage issue or a Blueprint logic issue causing it.

Solo Indie Game Developer and Unreal Engine (UE4 & UE5) Specialist with over 5 years of experience building optimized Android games from scratch.
I specialize in handling the full development pipeline independently taking mobile titles from concept to high-performance, publishing ready APK/AAB builds. Highly focused on rendering optimization for low-to-mid range devices, Blueprint scripting, and custom mechanics.
Through this blog, I share my practical knowledge and tutorials to help aspiring developers master the Unreal Engine mobile ecosystem.

One Comment