Create a Dynamic Quiz & Riddle System in UE5 Using Data Tables: No Hardcoding
Building a quiz game or a riddle game in UE5 and hardcoding every question directly into Blueprint nodes is a trap that catches a lot of developers early on. It works fine for the first 10 questions. Then you want to add 50 more and suddenly your Blueprint graph is an unmanageable mess of branches and string comparisons.
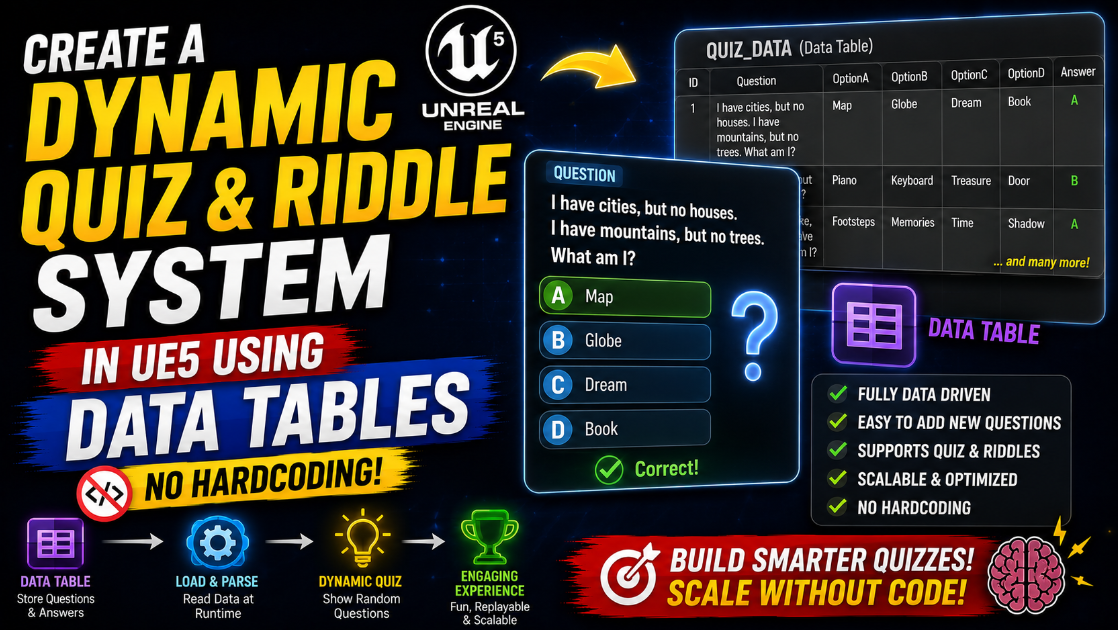
The fix is using Data Tables. A Data Table lets you store all your questions, answers and any other quiz data in a single structured spreadsheet-like asset. You can add hundreds of questions without touching your Blueprint logic even once. In this article I will show you how to build a complete quiz and riddle system using Data Tables from the ground up.
Why Data Tables Are the Right Tool for This
Before getting into the setup it helps to understand why this approach works so much better than hardcoding.
When you hardcode questions directly in Blueprint every single question needs its own set of nodes to display text, check the answer and move to the next question. Adding a new question means going back into your Blueprint graph and duplicating that entire chain of nodes again. This gets unmanageable fast and it is also extremely error prone since one wrong wire can break your whole quiz.
A Data Table flips this completely. You design your quiz logic once using variables that pull from a table row. After that adding a new question is just adding a new row of data. No Blueprint changes needed at all. This also makes it incredibly easy to update content later, translate your quiz into another language or even let someone with zero Blueprint knowledge add new questions for you.
Step 1: Create the Data Structure
Before creating the actual table you need to define what a single quiz question looks like in terms of data. This is done using a Struct.
Go to your Content Drawer, right click and go to Blueprints > Structure. Name it S_QuizQuestion.
Open this new Struct and add the following variables.
Question as a Text type. This stores the actual question or riddle text.
AnswerOptions as a Text Array. This stores all the possible answer choices for multiple choice questions.
CorrectAnswerIndex as an Integer. This stores which index in the AnswerOptions array is the correct answer. So if the correct answer is the second option in your array this value would be 1 since arrays start counting from 0.
Hint as a Text type. This is optional but useful if you want to give the player a hint option for riddles.
Category as a Text type if you want to organize your questions into different topics like General Knowledge, Riddles or Movies.
Points as an Integer. This lets different questions award different point values, useful if you want harder questions to be worth more.
Save your Struct once all these variables are added.
Step 2: Create the Data Table
Now go to your Content Drawer, right click and go to Miscellaneous > Data Table. UE5 will ask you to pick a Struct to base this table on. Select S_QuizQuestion which you just created.
Name the Data Table something like DT_QuizQuestions.
Open it and you will see a spreadsheet-like editor. Click Add to add a new row. Each row represents one complete question.
Fill in the Question field with your actual question text. For the AnswerOptions array click the plus icon to add each possible answer one at a time. Set the CorrectAnswerIndex to match the position of the correct answer in your array. Fill in a Hint if you want one for that question. Set the Category and Points values as well.
Repeat this for every question you want in your quiz. You can add as many rows as you need and the table editor makes it very easy to scroll through and edit existing entries later.
Step 3: Get a Random Row from the Data Table
Now let us build the Blueprint logic that pulls a question from this table and displays it to the player.
Open your Quiz Widget Blueprint or your Quiz Game Mode Blueprint, whichever you are using to drive your quiz logic.
First you need to get all the row names from your Data Table so you can pick one randomly. Add a node called Get Data Table Row Names. Connect your DT_QuizQuestions Data Table as the input. This returns an array of all the row names in your table.
Add a Random Integer in Range node. Set the Min to 0 and the Max to the length of your row names array minus 1. You can get the array length dynamically using a Length node on the row names array instead of hardcoding the number, which means this still works correctly even after you add more questions later.
Use the random integer as an index to get a specific row name from the array using a Get (a copy) node on the array.
Step 4: Retrieve the Question Data
Now that you have a random row name you need to actually pull the question data out of the table.
Add a node called Get Data Table Row. Connect your DT_QuizQuestions table as the input and the row name you just got as the Row Name input. You also need to specify the Struct type in this node which should be S_QuizQuestion.
This node returns a struct containing all the data for that specific row. Break this struct using a Break S_QuizQuestion node to get individual access to the Question text, AnswerOptions array, CorrectAnswerIndex, Hint, Category and Points values separately.
Store these in local variables on your widget so you can reference them easily as the player interacts with the question.
Step 5: Display the Question and Answer Options
Now build the actual UI that shows this question to the player.
In your Widget Blueprint design, add a Text Block for displaying the question itself. In the Graph, set its text directly from the Question value you broke out from the Struct in the previous step.
For the answer options the cleanest approach is to use a Vertical Box or Wrap Box with multiple Button widgets inside it, one for each possible answer. Since the number of answers can vary you have two options here.
If your quiz always has a fixed number of options like exactly 4 choices you can simply place 4 buttons in your widget design and set each button’s text from the corresponding index in your AnswerOptions array using Get (a copy) with index 0, 1, 2 and 3.
If your quiz has a variable number of answers per question a more advanced approach is to dynamically create buttons at runtime using a For Each Loop over the AnswerOptions array, creating a new Button widget instance for each entry and adding it to your container. This requires creating a separate Button Widget Blueprint that you spawn dynamically but it gives you full flexibility for quizzes with different numbers of choices per question.
Step 6: Check the Player’s Answer
When the player taps one of the answer buttons you need to check if they picked correctly.
On each button’s On Clicked event you need to know which index that button represents. The cleanest way to do this is to store the button’s index as an Integer variable on the button itself if you are using dynamically created buttons, or simply hardcode the index check if you are using a fixed set of buttons.
Compare the index of the button that was clicked against your stored CorrectAnswerIndex value using an Equal (Integer) node. Connect this into a Branch.
If True the player answered correctly. Add their score using the Points value from the current question and play a positive feedback animation or sound. If False the player answered incorrectly. Show a clear visual indicator of which answer was wrong and optionally reveal the correct answer.
Step 7: Move to the Next Question
After the player answers, whether correct or incorrect, you need to move on to the next question. The cleanest way to do this is to simply repeat Steps 3 and 4 again, getting a new random row and displaying it.
To avoid repeating the same question twice in a row keep a String Array variable called AskedQuestions and every time you pick a new random row name add it to this array. Before displaying a newly picked question check if its row name already exists in AskedQuestions using a Contains node. If it does pick a different random row instead.
For a quiz with a fixed number of questions per session keep an Integer variable called QuestionCount and increment it each time a new question is shown. When this reaches your desired total such as 10 questions end the quiz and show the final score screen.
Step 8: Filter Questions by Category
If you organized your questions with a Category field you can build a system that only pulls questions from a specific category the player selected.
Instead of using Get Data Table Row Names to get every row, use a node called Get Data Table Row Names combined with a For Each Loop that checks each row’s Category value and only adds matching row names to a filtered array. Do this filtering once when the player selects a category, store the filtered array and then pick randomly from that smaller array instead of the full table.
This way if your table has 200 questions across 5 categories and the player picks Movies you are only randomly selecting from the 40 or so rows that belong to that category.
Step 9: Add Riddles With a Free Text Answer
Quizzes with multiple choice answers are one format but riddles often expect the player to type their own answer instead of picking from options.
For this you can reuse the same S_QuizQuestion struct but instead of relying on AnswerOptions and CorrectAnswerIndex add the correct answer as plain text in a separate field, or simply use index 0 of AnswerOptions to store the correct text answer when AnswerOptions only has one entry for that row.
In your Widget Blueprint add an Editable Text Box instead of multiple buttons. When the player submits their answer get the text from this box, convert both the player’s input and the correct answer to lowercase using To Lower and trim any extra spaces using Trim Whitespace, then compare them using Equal (String). This makes the comparison forgiving of capitalization and accidental spaces which matters a lot for free text input on a mobile keyboard.
Step 10: Importing Questions From a CSV File
Manually typing dozens of questions into the Data Table editor row by row works for small quizzes but becomes tedious for large question banks. UE5 lets you import Data Tables directly from a CSV file which is much faster if you already have your questions written out in a spreadsheet.
Prepare a CSV file with columns matching your Struct fields exactly. The first row should have the column headers Question, AnswerOptions, CorrectAnswerIndex, Hint, Category and Points matching your Struct variable names. For array fields like AnswerOptions separate each value with a semicolon inside the same cell.
In the Content Drawer right click and choose Import to Game then select your CSV file. UE5 will ask you to confirm the Struct type to import as and will automatically populate a new Data Table with all your rows already filled in.
This is by far the fastest way to build a large quiz bank since you can write and edit all your questions in something like Google Sheets or Excel and then export it as CSV whenever you want to update your game’s question pool.
Final Thoughts
A Data Table driven quiz system is something you set up once and then never need to touch the Blueprint logic again no matter how many questions you add. Content updates become a matter of editing a table or importing a new CSV file rather than rebuilding Blueprint chains by hand.
This approach also scales naturally if your game grows. Adding new categories, translating your quiz into another language or letting a non-technical team member contribute new questions all become simple data tasks instead of programming tasks once your core system is built correctly.
Start with the basic random question system covered in the early steps and add the category filtering and CSV import features once your core quiz loop is working smoothly. Building it in this order keeps you from getting overwhelmed and lets you test your core gameplay early.
If you run into any issues getting your Data Table to display correctly in your widget or your random selection logic is repeating questions reach out at Admin@KaliPress.fun and I will help you sort it out.

Solo Indie Game Developer and Unreal Engine (UE4 & UE5) Specialist with over 5 years of experience building optimized Android games from scratch.
I specialize in handling the full development pipeline independently taking mobile titles from concept to high-performance, publishing ready APK/AAB builds. Highly focused on rendering optimization for low-to-mid range devices, Blueprint scripting, and custom mechanics.
Through this blog, I share my practical knowledge and tutorials to help aspiring developers master the Unreal Engine mobile ecosystem.